Folder Visibility: Hide Map Layers in Large Projects
Folder Visibility: Keep Large Map Projects Readable
Large projects can become busy quickly. Routes, markers, text labels, and polygons are all useful, but seeing every item at once can make it hard to focus on the part of the plan you are reviewing.
Folder visibility lets you temporarily hide groups of map items without deleting anything.
When to use this guide
Use folder visibility when your project has enough items that the map is hard to read. It is especially helpful for multi-day trips, imported GPX collections, alternate routes, and projects with many labels or polygons.
Before you start
Folder visibility works best when your project already has a useful folder structure. If everything is still in one flat list, create folders first.
Useful folder patterns:
- Day 1, Day 2, Day 3
- Camps, Water, Viewpoints
- Main Route, Backup Routes
- Research Notes
- Client Review
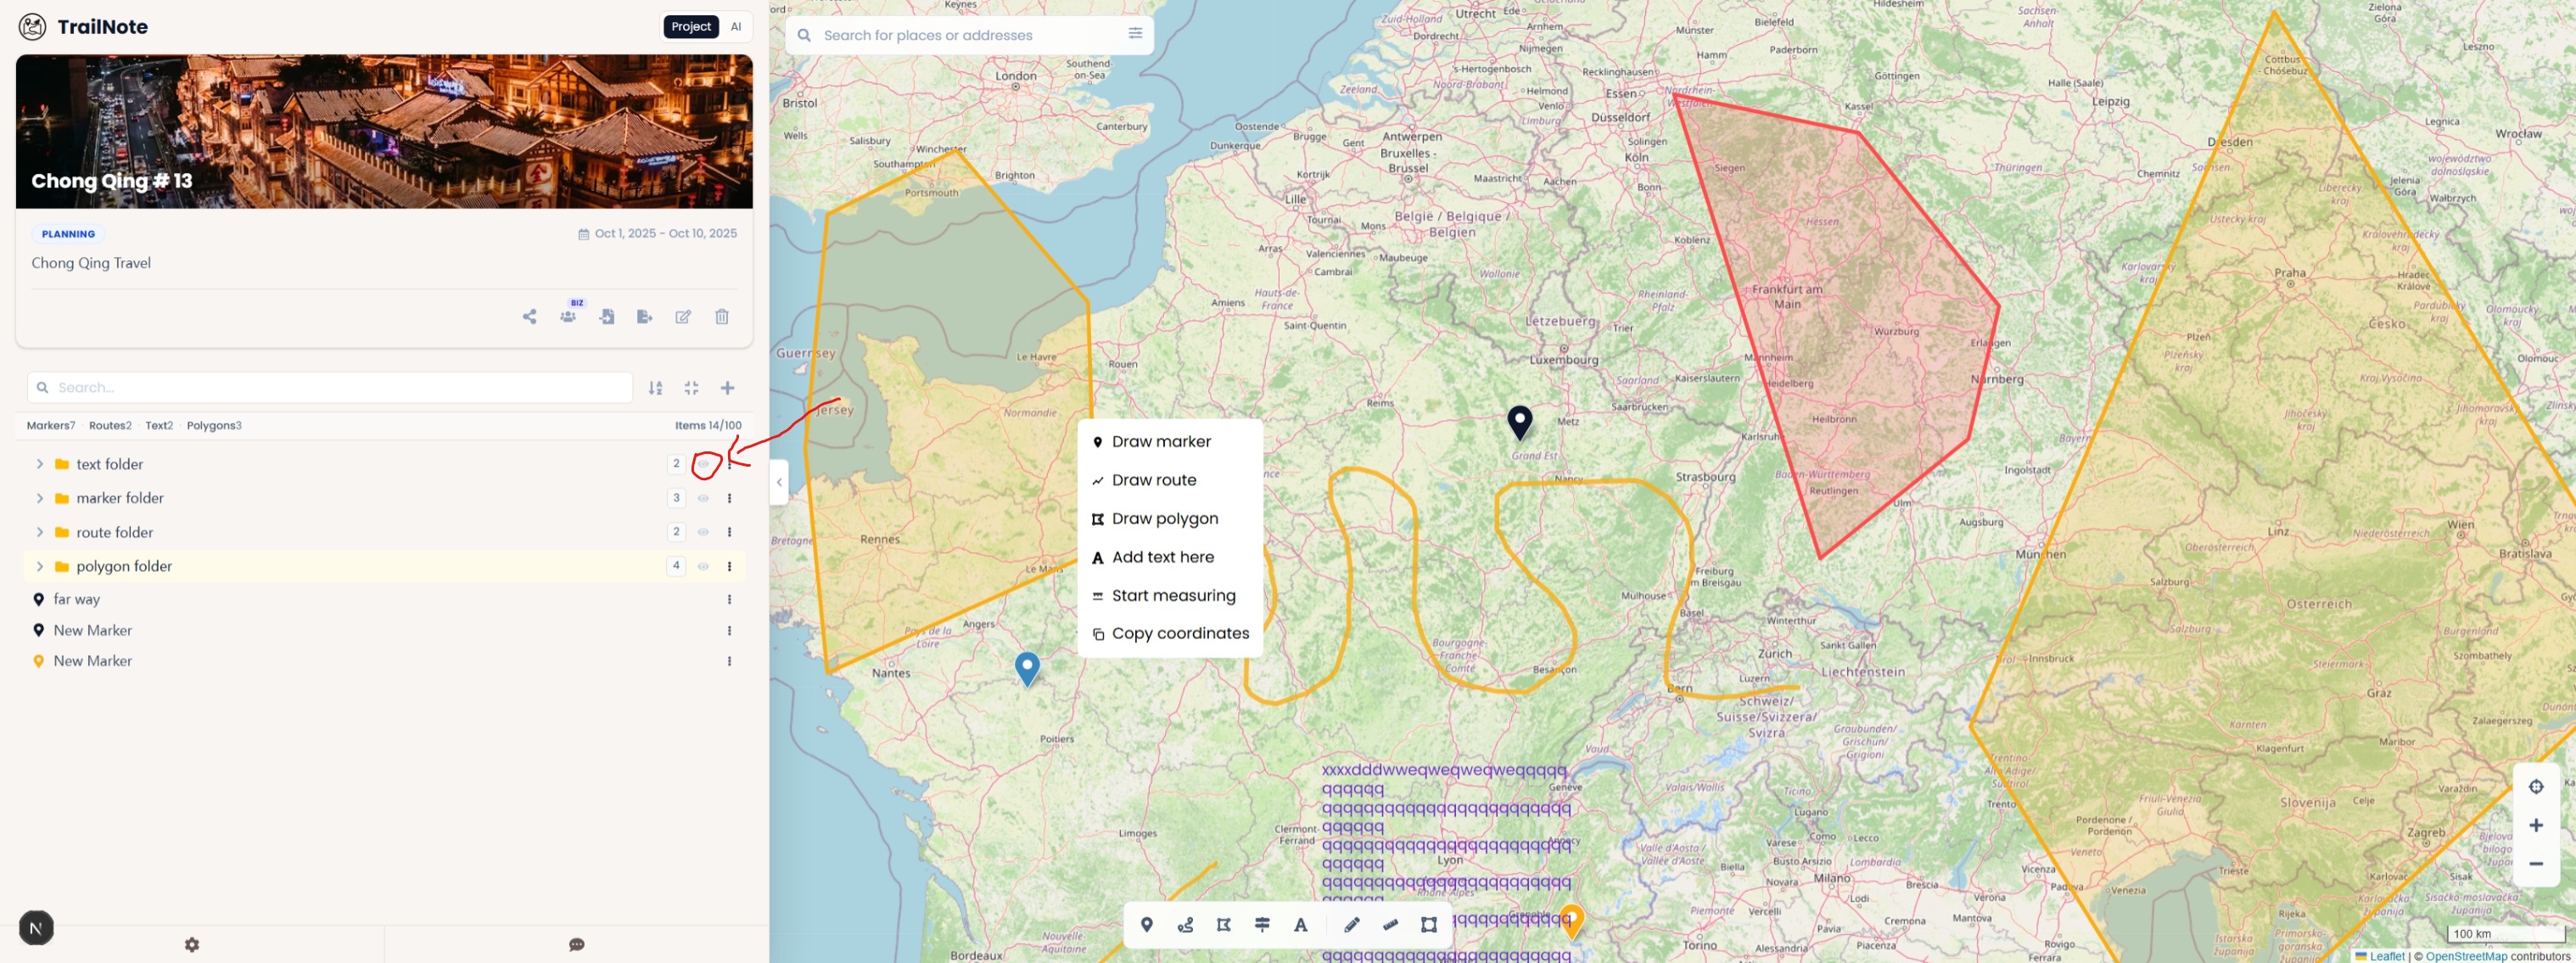
What the eye button does
Each folder in the project tree has an eye button. Click it to hide that folder from the map. Click it again to show the folder.
When a folder is hidden, TrailNote hides every supported map item inside it:
- Markers
- Routes
- Text annotations
- Polygons
The items remain in your project tree. You are changing visibility, not deleting data.
Step-by-step
1. Group related items into folders
Before hiding anything, make sure related items live together. For example, move all Day 2 routes and markers into a Day 2 folder.
2. Hide the folder you do not need
Click the eye button next to a folder. The items inside that folder disappear from the map so you can focus on the remaining visible items.
3. Review the focused map
Use this focused view to compare one day, one route option, or one planning theme at a time. If the map still feels busy, hide another folder.
4. Show the folder again when needed
Click the eye button again to restore the folder to the map.
5. Prepare a cleaner shared view
Before sharing a project, hide folders that are not relevant to the recipient. This can make a review link easier to understand.
Child folders are hidden too
If you hide a parent folder, its child folders are hidden on the map as well. This is useful when one top-level folder represents a whole day, region, or planning scenario.
For example:
- Weekend Hike
- Day 1
- Day 2
- Backup Routes
- Research Notes
Hiding Weekend Hike can hide everything inside that group, depending on your folder structure.
What the result looks like
A good visibility setup lets you switch between a detailed project tree and a clean map view. You can keep all planning data in one project while only showing the items needed for the current decision.
Common issues
I hid a folder and thought my data was gone. Hidden items are not deleted. Click the eye button again to show them.
Some items are still visible. They may be outside the hidden folder. Check the project tree and move related items into the correct folder.
The map is still cluttered. Combine folder visibility with better naming, route styling, and fewer visible labels.
A reviewer cannot see something important. Show the relevant folder before sending or refreshing the share context.